
(Sorry for all the wierd spaces between some of the photos and text. It doesn't look that way on the input screen and just got worse when I tried to fix them.)
=======================================================
Rory
McCreadie’s step by step guide to painting and rigging
1:1200 Scale
Napoleonic Ships
Part 2 Standing
Rigging
The tools for rigging: 3 types of thread,
Thick black sewing thread, and a black and lighter colour thin embroidery
thread. All man made. Bent tweezers, Cocktail sticks, Nail scissors, Glue and
cutters for ratlines.

All ways dip the thread end
into the glue to make the thread end hard. Do not use short bits of thread.
Make a loop knot and lay it over the base of the main mast and pull tight.


Add glue to the knot with cocktail stick
and pull.

Go around the mizzen mast
under the fighting tops and over the crossjack. Knot.

Pull and glue.


Lay thick thread next to bowsprit and glue.

Cut ends of first thread as close to masts
as you can.

Take the thread through the hole in the
bow.

Go over the bowsprit and back through the
hole again.

Go over the sprit-yard, under the bowsprit
over the other side sprit-yard and back into the bow hole again.


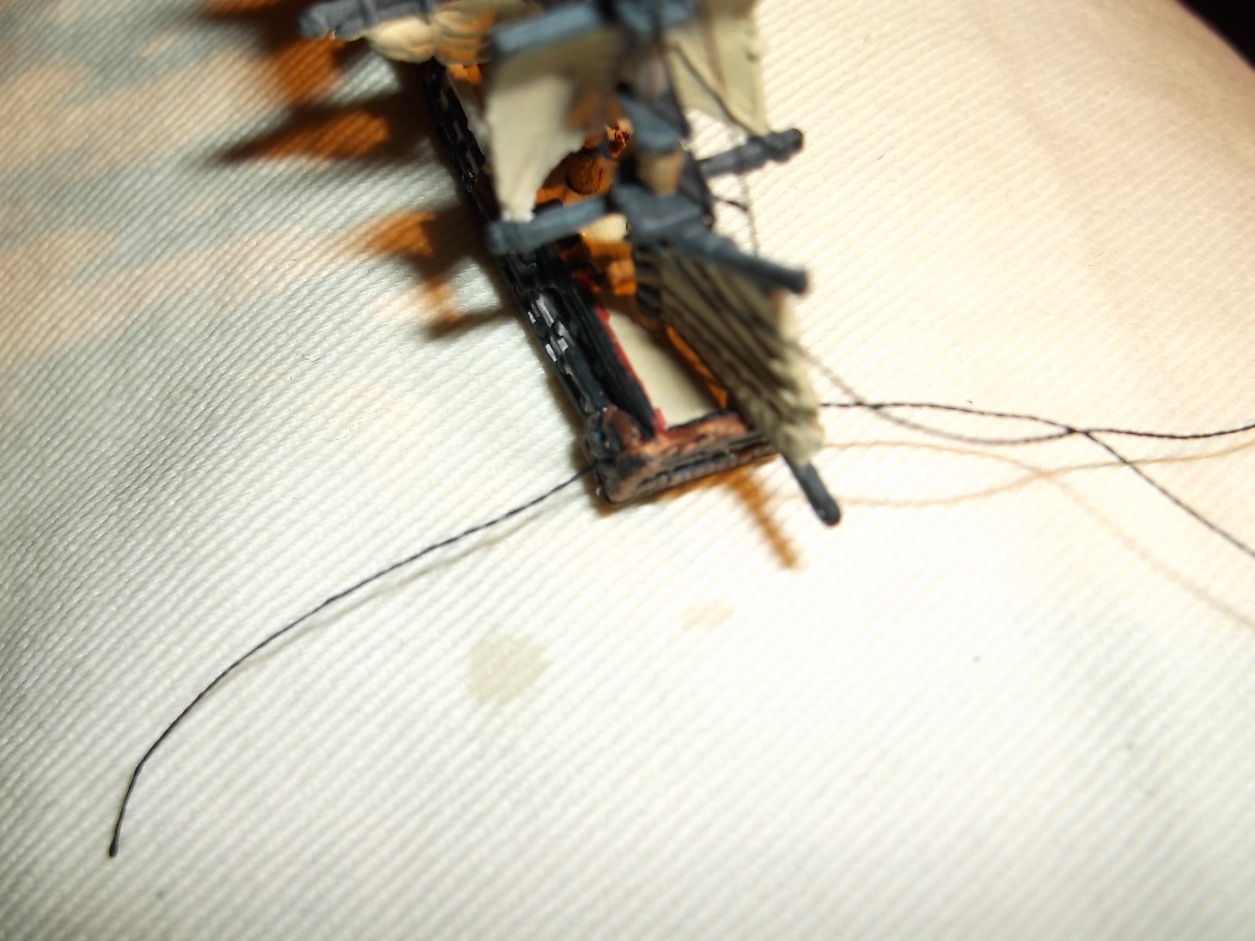
Start going over the
bowsprit and through the hole as many times as you can. Knot, pull and glue.

Cut the 2 thin threads away. Move the thick
thread out of the way of the fore mast. Use a long thin thread and knot, glue
and pull at the base of the fore mast.

Get both threads and move they back to the
main mast. Go under the maintopsail, thick to port and thin to starboard. Put
both through the hole at the main fighting top.

Knot around the mast over the fighting
top.Pull the thick thread back under the maintopsail and pull and glue. Cut
away thick thread when dry.

Knot and pull thin thread around mizzen
mast at the top of the mizzen topsail and under the top. DO NOT GLUE!

Go over the back of the 2 tops and on to
the top of the mizzen topgallant. Knot, pull and glue at the topgallant only.

Knot, pull and glue at the
top of the maintopsail and under the top.

Knot, pull (under the fore topsail) and
glue, over the fore mast fighting top.

Make shore you go to the back side of the
Jib (stay sail) the side the wind blows from. Knot, pull and glue at the
sprit-yard.

The ship should look like this, after you
cut off the rest of the thread.

(By the way I said I would rig the Selafail
74. She has more sails set, so after I have done the standard rigging on the
Venera (48). I will use the Selafail for the running rigging, when she has the
standard rigging done.)
Knot,
pull and glue some thin thread to the top of the mizzen mast.

Go through the hole at the stern starboard
side from the outside and pull.

Take the thread and fish it thou between
the mast and the rigging between the top two tops.

Pull and work it under the bottom of the 2
tops. Pull, DO NOT GLUE!

Go through the hole at the stern port side
from the in-side. This is hard take your time.
Go up to the top, top lay the thread over
the top pull and glue hold for a short time down the starboard side.

Go through the hole on the starboard side
again.

Go again through and under the top as the
first time and again through the port hole from the inside again.

Go up to the top of the
mast, Knot, Pull around mast and the end of thread and glue.

Go under the top, top of the main mast.
Knot, pull and glue.

Go under the 2rd top from the top of the
fore mast. Knot, pull and glue. Wait a minute and put a spot of glue on the jib
sail. Lay the thread on the sail and hold.

Add a small thin line of glue along the
front edge of the jib and lay the thread on the glue. Knot, pull and glue
around the front of the sprit-yard arm.

It should look like this after you cut away
the extra thread.

Now for the main mast.
Knot, pull and glue thin thread at the top of the main mast.

Go into the hole behind the main mast
channel starboard side from the outside.

Lay the thread across the top middle
rigging from the mizzen mast (2nd one down). From the in-side of the port side
go through the hole on the main channel.

Pull up to the top, top lay the thread
across the top and pull and glue.

Go down to the starboard side the back from
the out-side thou the hole again.

Up we go again to the top
middle rigging again and again lay it over again.

Down the port side and (sorry) from the
in-side back thou the hole.

Back up to the top of the
mast. Knot around the mast and thread, pull and glue.

Go to the fore mast above the topgallant yard.
Knot, pull and glue.

Knot, pull and glue the thread on the
jibboom/flying jibboom joint.

After cutting off the thread ends should
look like this.

Before I go on. If you have more than one
jib sail, you may have to drop this part of the rigging from the main mast to
the fore mast to match the 2nd jib sail.

So the last or fore mast. This mast is just
the same as the main mast. The only thing different from both is this is the
last bit and you have more room to work in.


Add glue to the end of the flying jibboom,
and loop thread around it and pull side wards (port).

Add glue to the end of the port side
spritsail yard. Loop thread around it and pull towards the ship. From the
in-side go through the hole by the port cathead.

Go over the middle port side of the
spritsail yard, under the bowsprit. Go over the starboard middle spritsail yard
and back to the ship.

Go through the hole by the
starboard cathead, from the out-side.

Add glue to the end of the starboard
spritsail yard. Loop thread around end.

Again add glue to the end of the flying
jibboom. Loop thread around this, pull down and back.

Put glue on the end of the dolphin striker.
loop thread around it and pull.

After you have cut off the
lose ends. your ship should look like this.


Now for the rat-lines. I start from the
middle of the spur. Working outwards I use them so: Lower main, fore, mizzen,
upper main, fore and mizzen. On some spurs the upper mizzen is across the top
of the spur.

Look for the name tag in the bottom left
side. This is the right side to be on the outside, pointing out from the ship.
Look for the straight edge on the main mast rat-line, this goes to towards the
bow. As do all the rat-lines on that side of the spur.

Cut free the first rat-line. I do it in the
order as said above. (main)

Put the rest to one side. I
only do one at a time.

Using the bent tweezers and hold the R/L
next to the mast.

If too long, cut away from the top. The
blocks should rest on the channel and the top under the fighting top.

Turn the R/L over and add a spot of glue to
the top and bottom. As I have only 2 hands, I use the glue straight from the
bottle.

Lay R/L from the top to bottom, holding the
R/L with the tweezers. I also use the closed tweezers to push the R/L to the
channel. If you push at the top it can move the R/L around the mast.(bad times)
So push the bottom haft of the R/L only.

I then move to the fore mast, doing as
above again. I find the main mast the hardest to do, as you have less space to
work in. So it gets easier as you go.

I then do the mizzen R/L.

Wait for a minute or two, and do it all
over again on the other side.

I now do the upper R/L'S. I again start
with the main mast. I hate having to cut them to size as I feel they should be
made to fit. Fit to the mast under the top, and go to the outer edge of the
fighting top. Glue, move around as above.

I wait again, turn the ship over and do the
other side.

This is the finished ship.

=======================================================
So this is the end of Part II. Stay tuned for Part III "Running Rigging".
Comments are welcome!
1 comment:
Great tutorial and nice technique to loop the threads.
Well done!
Post a Comment